Creating A Signature In Outlook
Summary
In this article you will learn how to create a CPS email signature.
Prerequisites
- Microsoft Outlook Desktop Application
If you have any issues during this process, please contact the Service Desk
Instructions
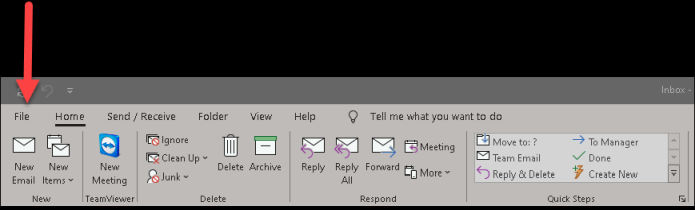
Step 1: Open Microsoft Outlook on your computer and select File (top left)
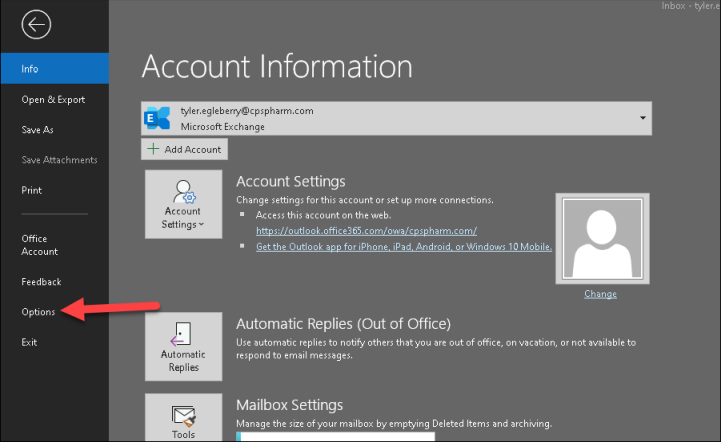
Step 2: Select Options (left side toolbar)
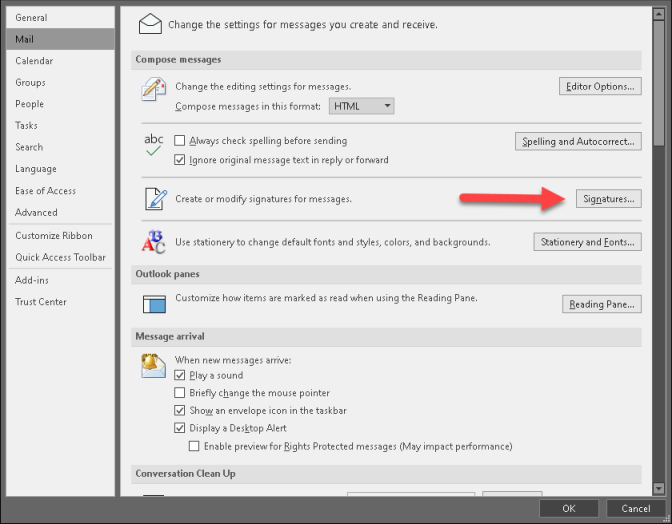
Step 3: Select Mail (left side toolbar)

Step 4: Select Signatures in the “Create or Modify Signatures for Messages” section (3rd item down)
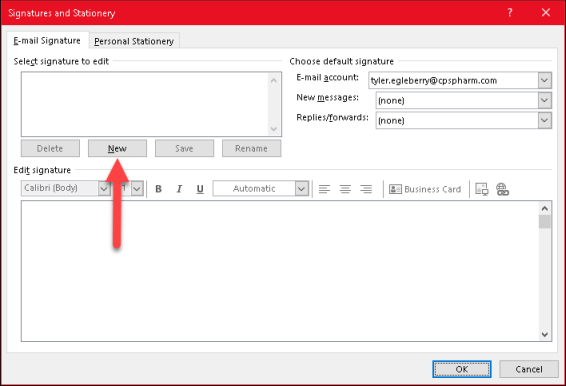
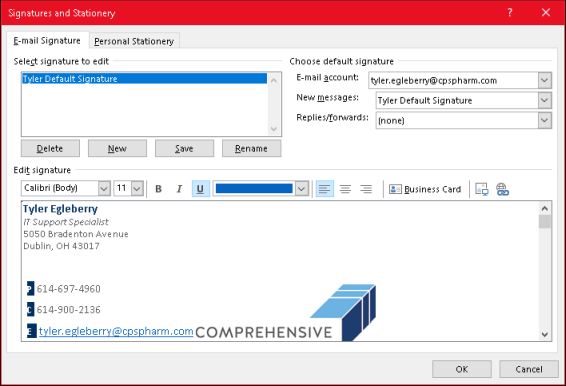
Step 5: Make sure the E-Mail Signature tab is highlighted and click on New under “Select Signature to Edit”
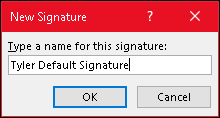
Step 6: Name this New Signature “(Your Name) Default Signature” and Click OK
Step 7: Copy and paste the example signature into the blank box (Updated 1/21/2022):
First Last Name
Credentials
Position, Department
Pronouns (x/x/x) Optional
D: ###.###.####
first.last@cps.com
655 Metro Place South, Suite 450
Dublin, OH 43017


cps.com
** Please add my new email address to your address book
Step 8: BE SURE TO MAKE EDITS/CHANGES TO REFLECT YOUR ACTUAL CONTACT INFORMATION
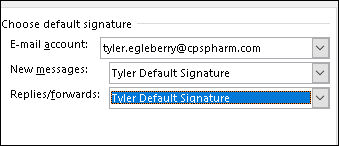
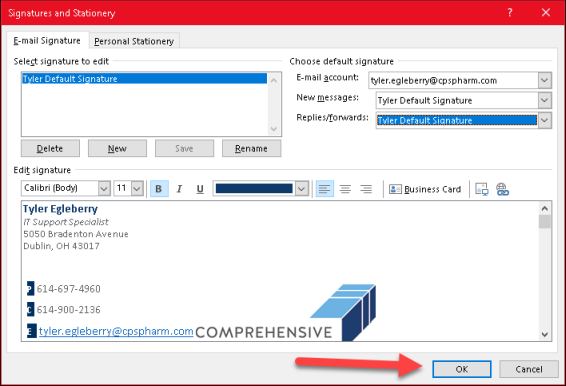
Step 9: Under Choose default signature,
a. Select CPS email address for Email account (right side)
b. Select your Default Signature for New Messages
c. Select your Default Signature for Replies/Forwards
d. Click OK
Step 10: Click OK again
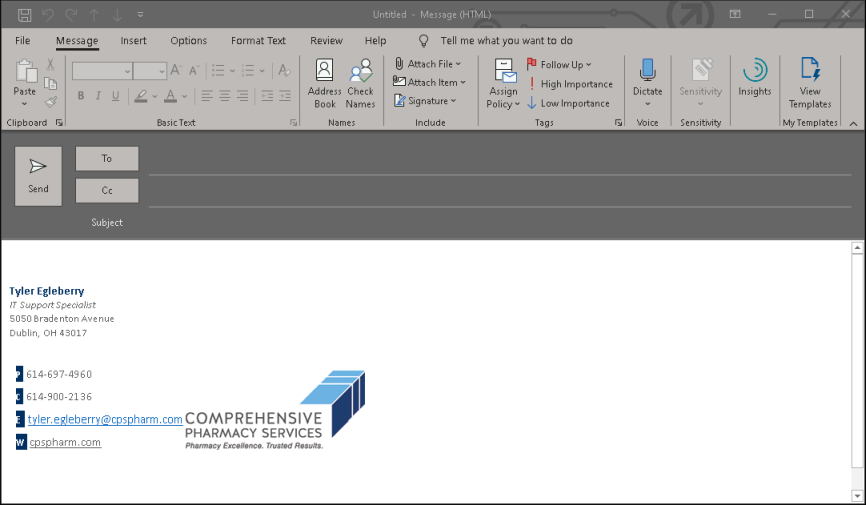
Step 11: Open a new email document in Outlook, and confirm your full signature automatically populated. If there are any errors, you can go back in using the instructions above to make any edits.
Conclusion
You have now successfully added your CPS signature to your Email account in Outlook. If additional help is needed please contact the Help Desk.