How To: Organize Tabs Into Groups
Summary
In this article you will learn how to organize your tabs into groups using Google Chrome Browser's newer feature Tab Groups. If you have any issues during this process, please contact the Service Desk at:
Prerequisites
Create a Tab Group
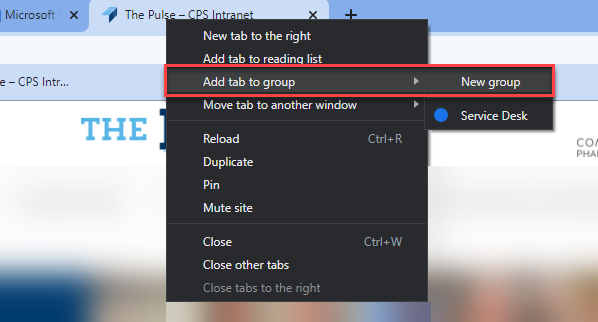
Step 1: Right-click the tab.
Step 2: Click “Add Tab to group” then “New group”.
Personalize a Tab Group
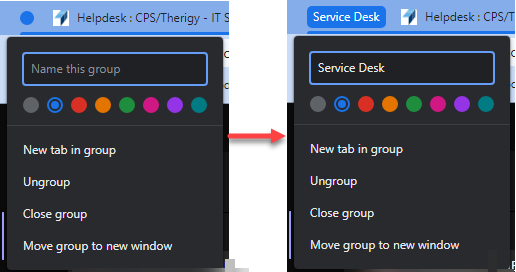
Step 1: Right-click on the group you want to (re)name.
- This is a circle icon if the group is unnamed.
Step 2: Type in the name you would like & choose a custom color.
Collapse/Expand Tab Groups
Step 1: Click the tab group name/circle to collapse the tabs into the group.
Step 2: Do the same to expand the group again.

Reorder Tab Groups
Step 1: Click and drag a tab group name or circle to move the whole group.
- This can be done whether the group is expanded or collapsed.

Conclusion
You have successfully learned how to organize your tabs! If further assistance is needed, please contact the Service Desk.